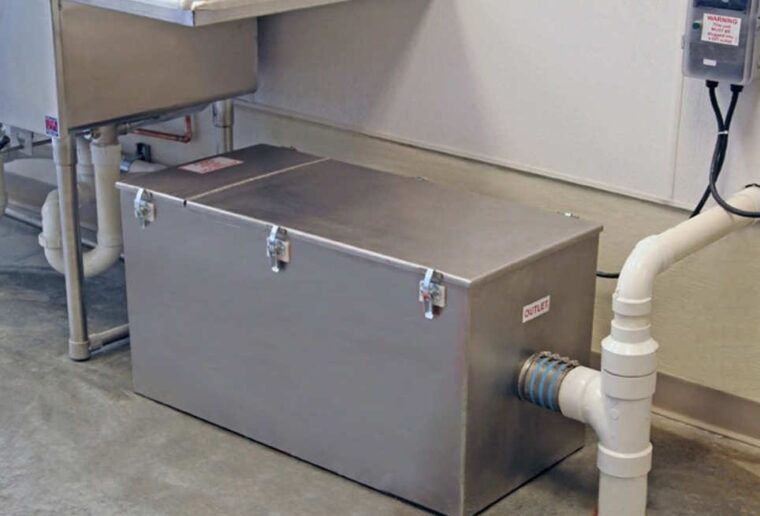
Grease traps are incredibly useful, especially if you’re in the restaurant business. These plumbing devices are used to “entrap” grease before they get to the sewers. Without a grease interceptor, you’d have to deal with horrible odors, sewer blockage, and possible rodent infestations. Still, if the grease trap itself is not kept clean, it could lead to some unnecessary troubles.
In this article, we’ll help you learn how to clean your grease interceptor so it lasts longer and it keeps on working perfectly!
So, without further ado, let’s get to the bottom of it!
Step number 1: Carefully remove the lid
Okay, removing the lead from a grease trap is not complicated at all. Still, make sure to do it gently so you don’t damage the gaskets. Replacing these can be a bit expensive, and prevention is always better than cure. Of course, before you remove the lid, make sure to check if there is any leakage around the trap since that could imply corrosion or a misplaced lid.
So, overall, inspect the lid carefully, and make sure to be gentle when removing it. Use a crowbar or a similar tool, and be careful not to damage the parts of the lid.
Step number 2: Make sure to remember the construction
Cleaning the grease trap will require lots of part moving and reassembling, so make sure not to misplace them once you’re done. If you’re not sure you can manage to do this, then simply take some pictures. You can delete the pictures later on and you’ll avoid misplacing some parts and potentially damaging a very expensive piece of plumbing equipment.
So take pictures, write it down, it doesn’t matter what you do, just make sure to remember where everything goes! If you feel like you’ve messed up, the only thing that’s left to do is to consult a professional plumbing service.
Step number 3: Measure the grease
If you are using the grease trap for commercial purposes, the law will require you to fill out the FOG report and submit it to the EPA. One of the things you have to know to successfully fill out these reports is the levels of grease, oil, and other waste that has accumulated inside of your interceptor.
So, after you’ve removed the lid, take a measuring stick, and put it inside the interceptor. Once you reach the bottom, try swirling the stick so the waste automatically marks it. Of course, make sure to do this as gently as possible, as you need to have accurate results for your report.
Step number 4: Remove the water
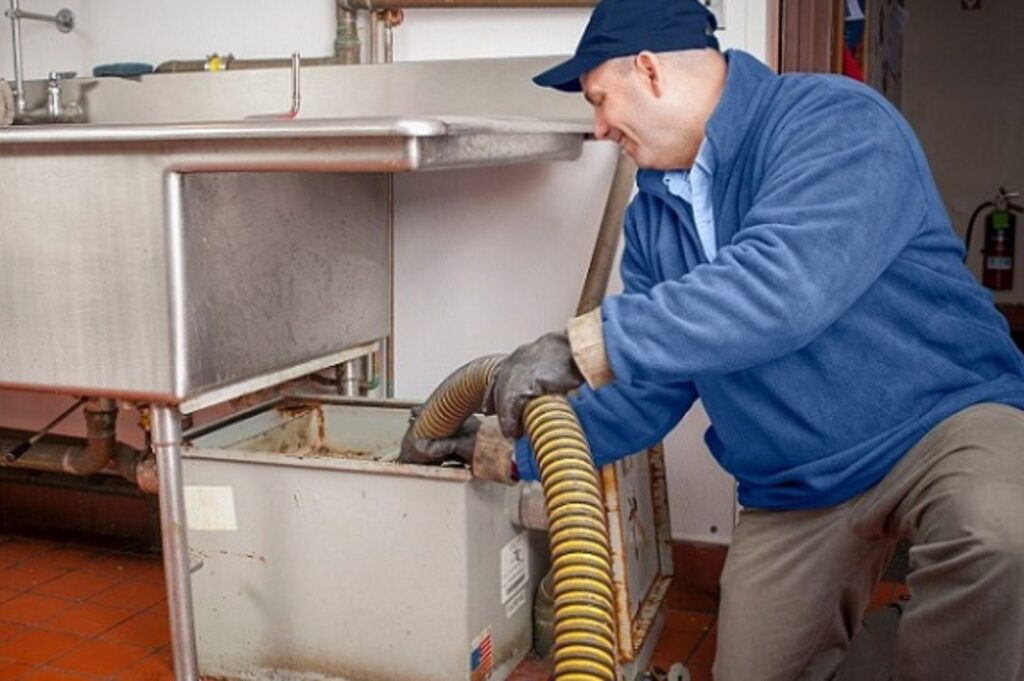
After you’ve taken all the important data needed for your reports, it’s time to finally begin the actual cleaning! The first thing you must do is to remove the water from your grease trap using a small bucket. Make sure to wear protective gloves and use a pump instead of a bucket if you have one: it’s much more sanitary.
Do not throw this water away! Set it aside as you’ll have to return it after you’re done cleaning the trap! Leave it in a bucket and keep it somewhere where you won’t accidentally spill it.
Step number 5: Scrub and scrape the trap
Make sure to get rid of the large chunks of waste before you begin scrubbing. Scrape it off with your bucket and dispose of it in a water-tight bag or container. Try to remove as much of it as you possibly can.
After you’ve removed the large chunks of grease and oil, it’s time to start scrubbing the interceptor. Use a stainless steel scrubber, warm water, and a gentle cleaning solution. Make sure to clean every single part in as much detail as you can! This will ensure the longevity and long-term sturdiness of your favorite plumbing device.
Step number 6: Pour the water back
If you’ve followed step number 4 then you now have a bucket of grease trap water just standing there. Well, we didn’t tell you to set it aside for no reason! After you’ve done with the scrubbing and cleaning, it’s time to get the old bucket and pour the water back into the trap.
This will ensure that the trap keeps on functioning properly, and you won’t have to deal with blockage and foul odor coming from your interceptor at all. So, remember not to dispose of the water but rather reuse it after you’ve cleaned the mechanical parts of the trap.
Step number 7: Reinstall the lid
Now, look at those pictures you’ve taken back at step number 2! You just have to copy what you see and return your grease trap to normal. It should be easy, but you should still be gentle and careful. Make sure everything is secured and functioning properly. After that, all that’s left is to make a copy of the FOG report so you have an overview of the produced waste if you ever need it.
All in all, reinstalling the lid is a pretty simple process. Of course, do not do it too aggressively as you want to avoid any damage to your interceptor.
Step number 8: Learn to recognize when it gets too bad for you to handle
Once the trap gets too dirty or too damaged, you should seriously consider replacing it and according to greasetrapsanfrancsico.com, a lot of people call in when it is too late. Still, while some of the grease trap issues can seem unrepairable to an amateur plumber, a professional one may be able to fix them in a matter of minutes.
So, don’t be afraid to leave it in the hands of professionals. They’ll have all the right tools, and they’ll be able to do the job more quickly than you. What’s more, a job well done ensures your grease trap lasts you for the years to come.